
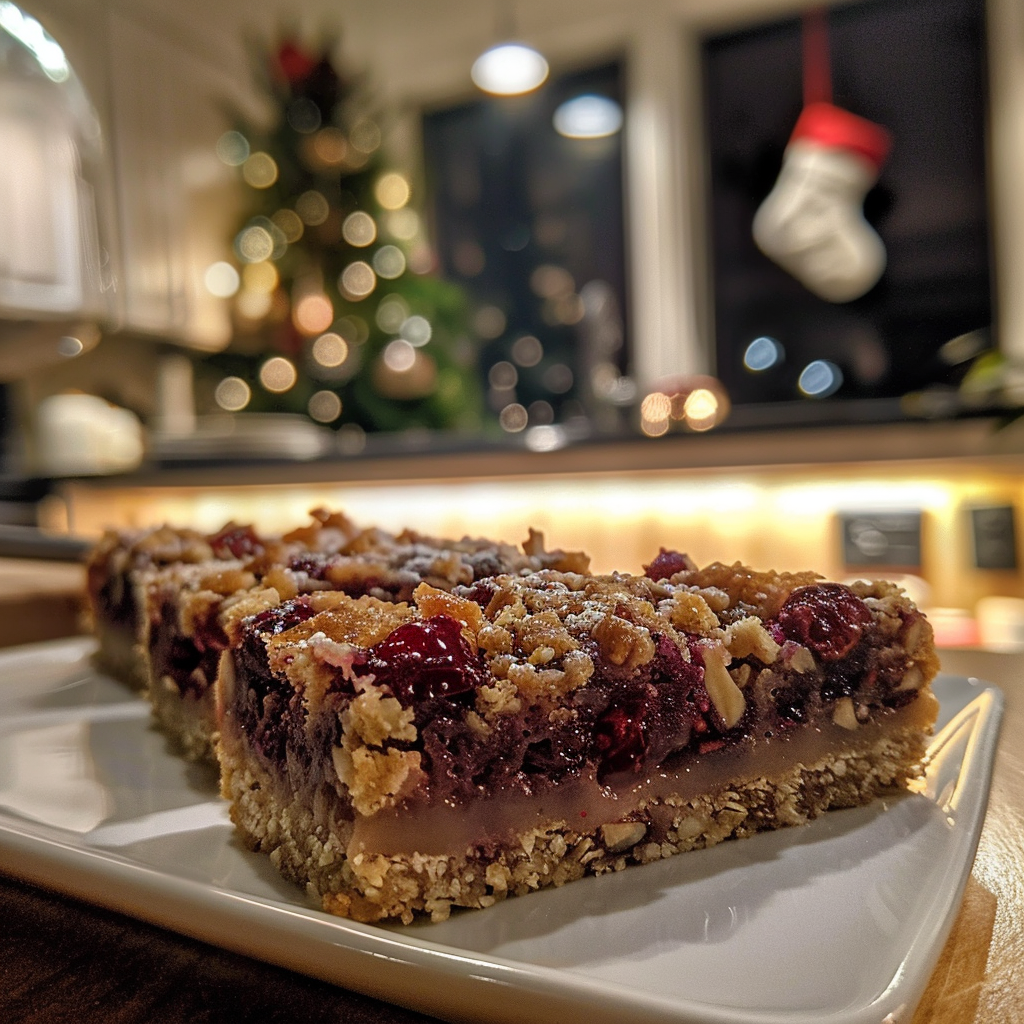
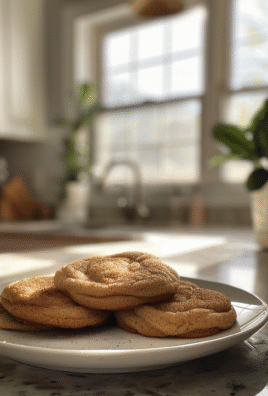
The holiday season is upon us, and nothing screams festive cheer quite like the aroma of freshly baked Christmas Cherry Bars wafting through the house. Imagine biting into a gooey layer of sweet cherries nestled between buttery, crumbly layers of goodness that practically melt in your mouth. These bars are not just a treat; they are pure joy wrapped in a dessert! For more inspiration, check out this Thanksgiving Cranberry Turkey Stuffing Balls recipe.
Every holiday gathering deserves a showstopper, and these Cherry Bars never fail to impress. I remember the first time I brought them to my family’s Christmas dinner. My Aunt Martha declared them “the best thing since sliced bread,” which, let’s be honest, isn’t exactly high praise but coming from her, it was a win! Now, let’s dive into this delightful recipe that will make you the star baker at any holiday feast. simple ranch chicken recipe savory peanut chicken recipe.
Why You'll Love This Recipe
- These Christmas Cherry Bars are easy to whip up, making them perfect for last-minute baking
- The balance of sweet and tart cherries creates an irresistible flavor profile
- Their vibrant red color adds a festive touch to any dessert table
- Enjoy them warm with ice cream or cold as a snack; they’re versatile for any occasion
I can still hear my family’s laughter and see their delighted faces when I served these bars at last year’s Christmas party.
Essential Ingredients
Here’s what you’ll need to make this delicious dish:
-
Fresh or Frozen Cherries: Sweet or tart cherries work beautifully; if using frozen, make sure they’re thawed and drained.
-
Unsalted Butter: Use room temperature butter for easy mixing and better texture; it makes all the difference.
-
Granulated Sugar: This will sweeten the base and topping while balancing the tartness of the cherries.
-
All-Purpose Flour: Provides structure to these bars; you may substitute with gluten-free flour if needed.
-
Baking Powder: Essential for that lovely rise; ensure it’s fresh for optimal results.
-
Eggs: They bind everything together and add richness to the bars. Mississippi Sin Dip.
-
Vanilla Extract: A splash elevates flavor; opt for pure vanilla for the best taste.
-
Powdered Sugar: This is optional but recommended for dusting on top once they cool.
The full ingredients list, including measurements, is provided in the recipe card directly below. Mexican Street Corn Dip.
Let’s Make it Together
Preheat Your Oven: Start by preheating your oven to 350°F (175°C). Grease a 9×13-inch baking pan with butter or cooking spray so your bars won’t stick.
Create Your Base Layer: In a large mixing bowl, combine softened butter and granulated sugar until creamy. Add eggs one at a time, mixing well after each addition. The mixture should look fluffy and light.
Add Dry Ingredients: Next, sift together flour and baking powder before gradually adding them to your wet mixture. Stir until just combined; over-mixing can lead to tough bars—no one wants that!
Fold in Cherries: Gently fold in your cherries until evenly distributed throughout the batter. This step gives those juicy bites of fruit in every square!
Spread & Bake!: Pour half of the batter into your prepared pan and spread it evenly with a spatula. Bake for about 15 minutes until lightly golden before adding the remaining batter on top.
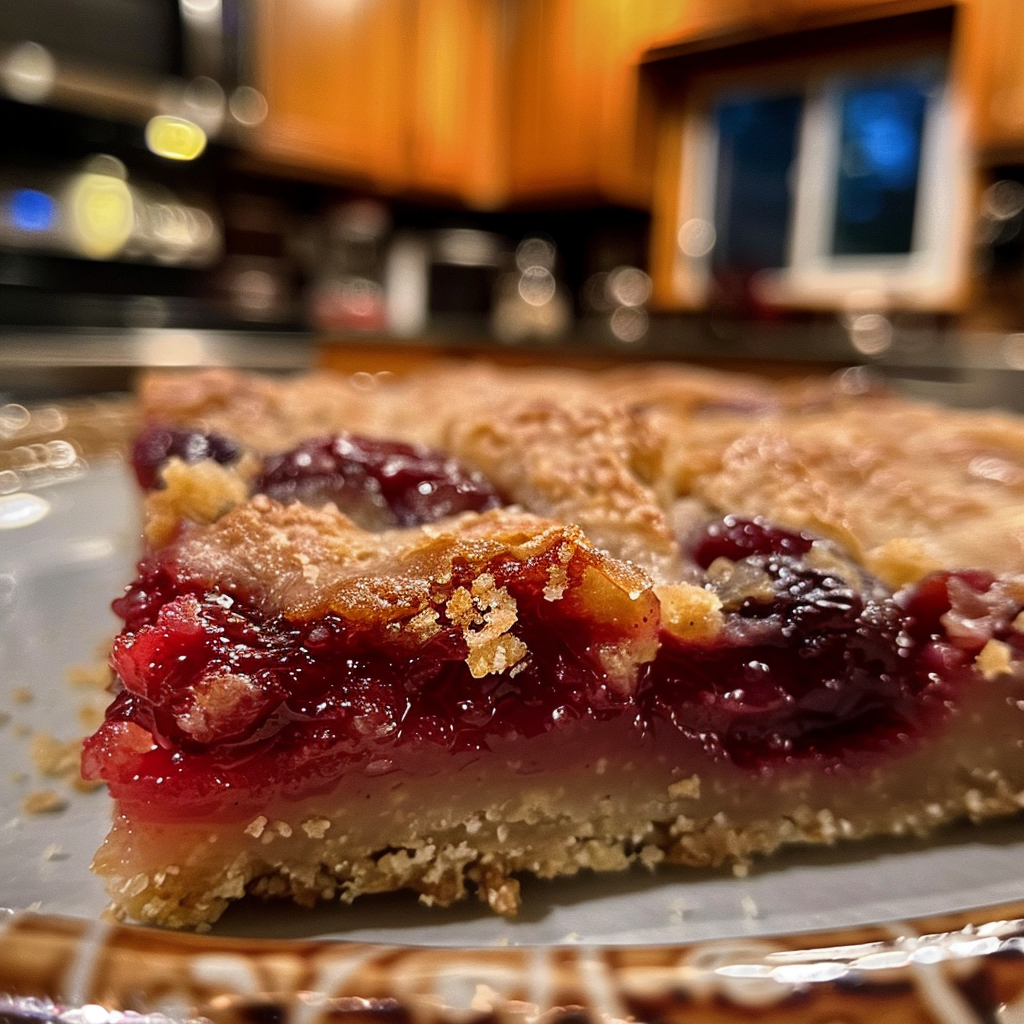
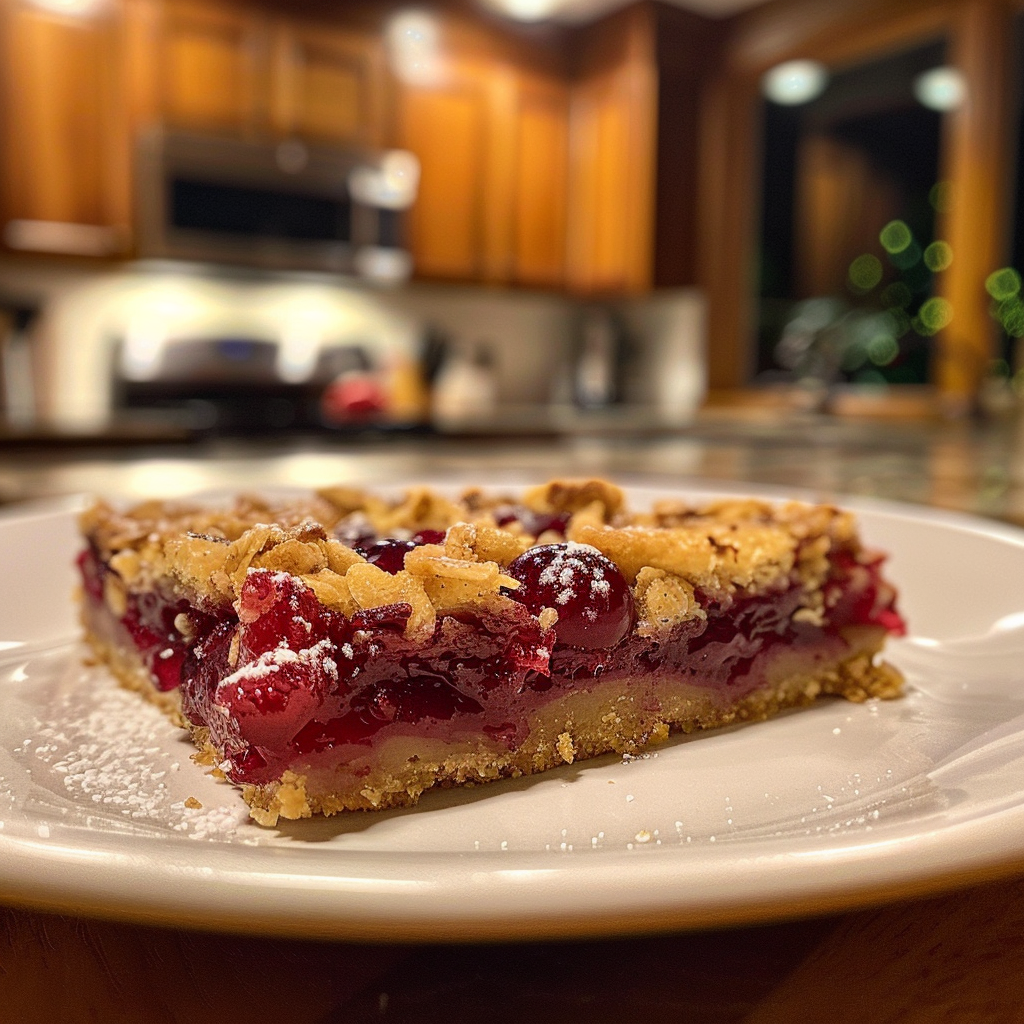
Add Topping & Finish Baking: Spoon dollops of remaining batter atop cherry filling—don’t worry about making it perfect! Bake for an additional 25-30 minutes or until golden brown and set in the middle.
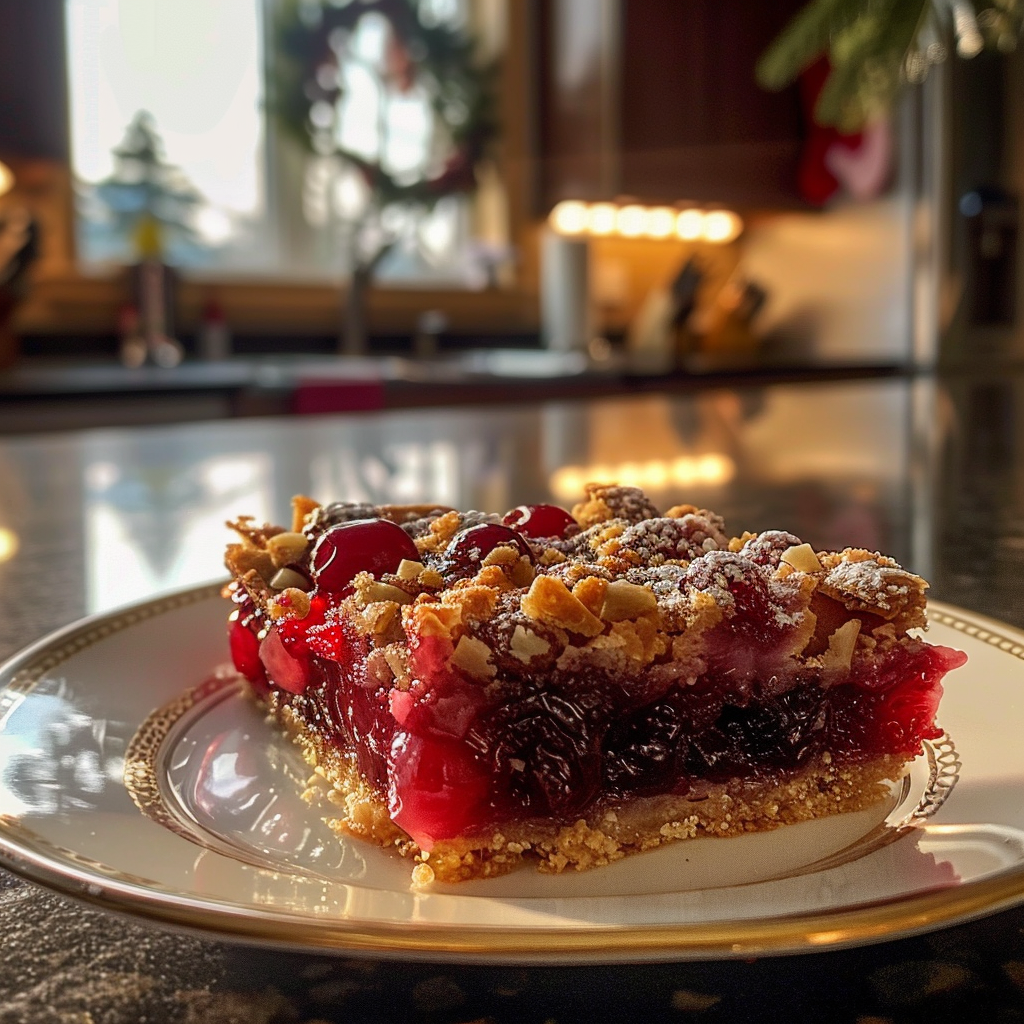
Once baked, allow these beauties to cool completely before cutting into squares. Dust with powdered sugar if desired for an extra festive touch!
These Christmas Cherry Bars are bound to become a staple in your holiday traditions. With their delightful combination of textures and flavors, they’ll leave everyone wanting more—and possibly fighting over who gets the last piece!
You Must Know
- Christmas Cherry Bars are a delightful blend of sweet and tart that brings joy to any holiday gathering
- The vibrant red cherries combined with a buttery crust create an irresistible treat that everyone will love
- Plus, they make your home smell like a festive bakery!
Perfecting the Cooking Process
To create the best Christmas Cherry Bars, start by preparing the crust and chilling it while mixing the filling. Bake the crust until golden before spreading the cherry mixture evenly on top.
Add Your Touch
Feel free to swap out cherries for blueberries or raspberries for a different flavor. Adding a dash of almond extract can enhance the cherry flavor beautifully.
Storing & Reheating
Store your Christmas Cherry Bars in an airtight container at room temperature for up to three days. For longer storage, refrigerate them for up to a week or freeze for up to three months.
Chef's Helpful Tips
- Use fresh or frozen cherries; just make sure to thaw and drain frozen ones well
- A sprinkle of powdered sugar on top adds a lovely finish, making them look extra festive
- Always let bars cool completely before cutting for clean slices!
Every time I bake these Christmas Cherry Bars, my family gathers in the kitchen asking if they’re ready yet. Their excited anticipation always reminds me of how food brings everyone together during the holidays!
FAQ
Can I use canned cherries for this recipe?
Yes, but make sure to drain them well to avoid excess moisture.
How do I know when my bars are done baking?
The edges should be golden brown, and the center should be set but slightly soft.
Can I make these bars ahead of time?
Absolutely! They store well and taste even better after resting overnight in the fridge.

Irresistible Christmas Cherry Bars
- Total Time: 1 hour
- Yield: Approximately 12 servings 1x
Description
Delight your holiday gatherings with these Christmas Cherry Bars, a perfect blend of sweet and tart flavors. With luscious cherries nestled in a buttery, crumbly base, every bite offers a festive treat that will have your guests coming back for more. Easy to prepare and beautifully vibrant, these bars are the ideal addition to your dessert table this season!
Ingredients
- 2 cups fresh or frozen cherries, thawed and drained
- 1 cup unsalted butter, at room temperature
- 1 cup granulated sugar
- 2 cups all-purpose flour (or gluten-free flour)
- 1 tsp baking powder
- 3 large eggs
- 2 tsp vanilla extract
- Optional: powdered sugar for dusting
Instructions
- Preheat your oven to 350°F (175°C) and grease a 9×13-inch baking pan.
- In a large bowl, beat together softened butter and granulated sugar until creamy. Add eggs one at a time, mixing well after each.
- Sift together flour and baking powder; gradually add to the wet mixture until just combined.
- Fold in the cherries gently.
- Pour half of the batter into the prepared pan and spread evenly. Bake for about 15 minutes until lightly golden.
- Spoon dollops of remaining batter over the cherry layer and bake for an additional 25-30 minutes until golden brown.
- Allow to cool completely before slicing into squares and dust with powdered sugar if desired.
- Prep Time: 15 minutes
- Cook Time: 45 minutes
- Category: Dessert
- Method: Baking
- Cuisine: American
Nutrition
- Serving Size: 1 square (65g)
- Calories: 250
- Sugar: 20g
- Sodium: 105mg
- Fat: 12g
- Saturated Fat: 7g
- Unsaturated Fat: 4g
- Trans Fat: 0g
- Carbohydrates: 33g
- Fiber: 1g
- Protein: 3g
- Cholesterol: 60mg
Leave a Comment